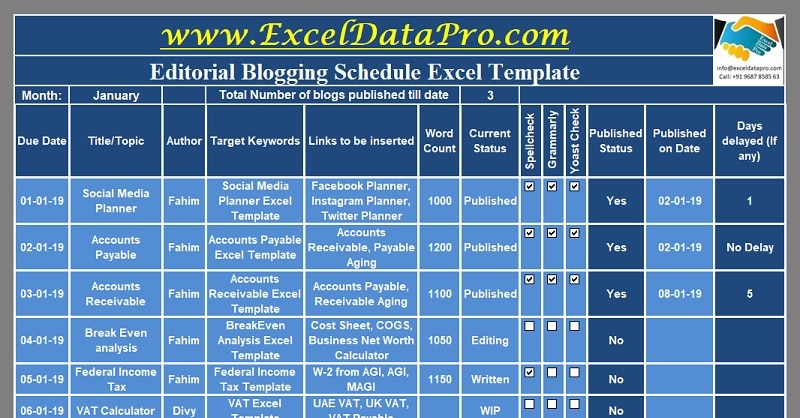
Editorial Blogging Schedule is a ready-to-use excel template to schedule your blog posts date-wise on your website along with multiple editing tool checklists.
It includes a date-wise list of topics that you write along with other relevant details. These relevant details include the author’s name, target keywords, the current status of the post, etc.
Define your topic, keyword, and inbound as well as outbound links for the realted topic. In addition to that, it also provides an editing tool checklist for spellcheck, Grammarly and Yoast SEO.
Table of Contents
Editorial Blogging Schedule Excel Template
We have created a simple and easy Editorial Blogging Schedule which helps you schedule your blog posts month-wise for a complete year.
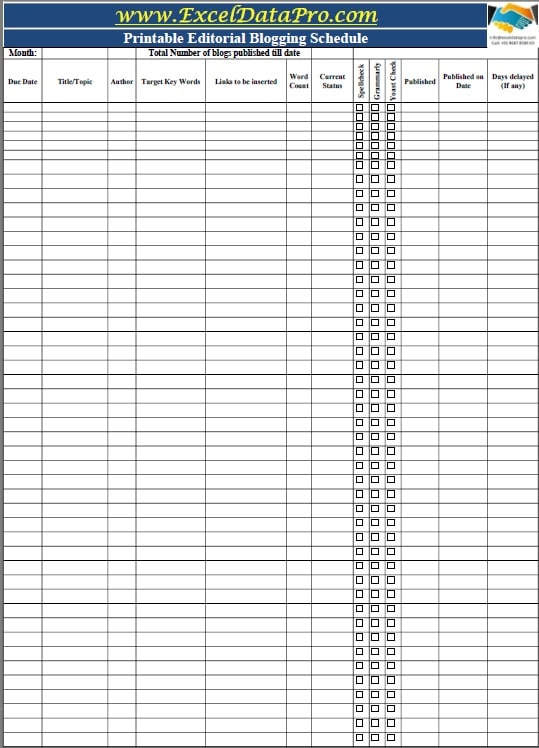
Furthermore, it also consists of a printable editorial calendar that you can use in a printed format. You can share it with your colleagues or team members.
Click here to download the Editorial Blogging Schedule Excel Template.
Click here to Download All Social Media Marketing Excel Templates for ₹299.You can also download another useful template like Social Media Content Calendar from our website.
Let us discuss the contents of the template in detail.
Contents of Editorial Blogging Schedule Excel Template
This template consists of 13 sheets:
- Editorial Blogging Schedule (12 Sheet, One for each month Jan-Dec).
- Printable Blogging Schedule.
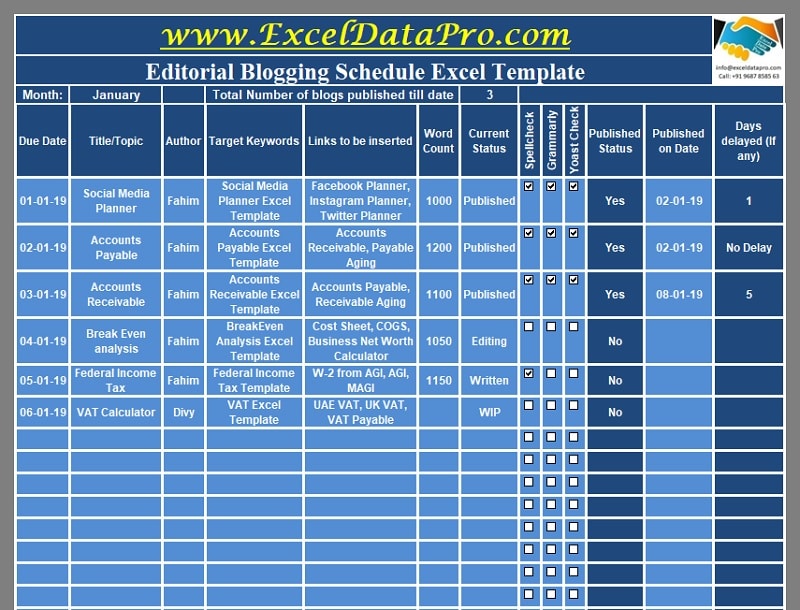
Editorial Blogging Schedule
At the top, there is a month section. When you will enter the due date it will automatically fetch the month using TEXT Function.
Next to the month, there is the heading for the total post to date. This is auto-calculated using the COUNTIF Function

To plan your blogging calendar this template consists of following columns:
Due Date
Title/Topic
Author
Target Keywords
Links
Word Count
Current Status
Spellcheck
Grammarly
Yoast Check
Published
Publish Date
Days Delayed (If any)
Enter the start date or due date. Insert topic/title of the blog post. If you are only the author then you can hide the column. But if there are more than 1 author you can write the name of the author in this column.
Insert the target keyword so that you can focus on it while writing. A good post consists of internal as well as external links. Hence, define the links that are relevant to your topic to enter inside the post.
Enter the word count of the article. Select the current status from the drop-down list. The drop-down list consists of the following:
WIP – Work in progress
Written
Editing
Completed
Published
Followed by this, there are 3 columns for the editing tools checklist. First is spell spellcheck. Posts with mistakes are always considered bad. Hence, to spellcheck before publishing is a must thing to do.
Editing Tools Checklist
Another tool is Grammarly. You can check out more details about how Grammarly is helpful as a blogger by checking the review by Shabbir Bhimani.
Proper grammar is also needed for the post. Improper usage of words makes your post weak. Therefore, using Grammarly to check grammar issues should also be made mandatory before publishing.
The third editing tool is Yoast SEO.
Yoast SEO helps you design according to SEO guidelines and also checks for readability issues. It helps to make your post with proper headings, subheadings, transition words and other things that make your post more SEO friendly.
As soon as you check your post through these editing tools, you can publish the post. Select the status to “Published” from the dropdown list and it will automatically change the status to “Yes”.
Enter the date on which the post is published and it will calculate the delayed days between the due date and the published date.
There are 12 sheets from Jan to Dec, one for each month. Thus you can design your whole year with this Blogging Schedule.
That’s it and you are done.
Printable Editorial Blogging Schedule
We have also created a printable version of the above sheet for your convenience. If you want to make this on a printed sheet, you can use this printable Blogging Schedule.

Click here to download Printable Editorial Blogging Schedule.
How to Create an Effective Blogging Schedule?
To create an effective blogging schedule follow these steps:
- Determine your blogging schedule.
- Identify your audience.
- Determine your blog categories.
- Brainstorm blog post ideas.
- Identify holidays and special events.
- Check and update your editorial calendar.
Benefits of Keeping a Blog Schedule
As a blogger, we are our own editors, marketers, social media managers, designers, and whatnot. Doing all these duties by self often makes tough for us to manage. Usually, it may happen that we cannot remain consistent and often get stuck in a blogger’s block.
We often see many bloggers consistently posting useful and interactive content. Moreover, they remain overtime because they preplan their content.
Thus, a Blogging Schedule can be of great help to turn the tables around. The following are some benefits of keeping a Blog Schedule.
- Keeps you organized.
- Regular adding of topics saves you from the blogger’s block.
- It helps you stay consistent.
- It can help you design your marketing plan.
- Preplanning your content according to the event/date will help you gain more engagement from the audience.
- It helps you develop relevant and timely content.
We thank our readers for liking, sharing and following us on different social media platforms.
If you have any queries please share in the comment section below. We will be more than happy to assist you.
Leave a Reply